

If you’ve ever stepped out of a salon with bouncy, glossy hair, you’ve likely experienced a hair blowout. In recent years, blowouts have become a go-to service for achieving smooth, voluminous styles without the need for a curling iron or straightener. From upscale salons to on-demand beauty services like Glamsquad, it’s easier than ever to book a professional hair blowout or even recreate an at-home salon blowout on your own. This guide is for everyone – whether you’re entirely new to the concept or just looking to perfect your technique – and will cover everything you need to know about blowouts.
What Is a Hair Blowout?
Unlike a quick at-home blow-dry, a salon blowout involves a specific technique of drying and styling that achieves both smoothness and volume. It typically starts with a thorough hair wash and conditioning, followed by blow-drying the hair in sections using a round brush and high-powered dryer. The stylist simultaneously pulls and shapes each section with the brush while directing hot air down the hair shaft, resulting in strands that are frizz-free, straight or softly curled as desired, and voluminous. A blowout is a precise method of drying and styling hair using just a blow dryer and a round brush for a polished, camera-ready finish.
Importantly, a blowout is not a haircut or chemical treatment; it’s purely a styling session. You might hear the term used at salons or dedicated blowout bars. The goal is to create a style that can last for several days. Many people get blowouts before special events, nights out, or simply as part of their weekly self-care routine to enjoy a few days of great hair.
How Hair Blowouts Work
A blowout involves more than just blasting your hair with heat. Here’s an overview of the blowout process from start to finish:
- Wash and Prep: Every blowout begins with clean, wet hair. The stylist (or you, if DIY) will shampoo and condition your hair, often using products suited to your hair type or the desired outcome (moisturizing for frizz control, or lightweight for volume). Starting with super clean hair ensures no old oils or products will weigh down the final style. After washing, excess moisture is gently squeezed out with a towel.
- Heat Protection: Before any serious drying happens, a heat protectant product is applied. This could be a spray, cream, or serum that protects your strands against heat damage and often also helps fight frizz or adds hold. This step is crucial for maintaining hair health through the blowout.
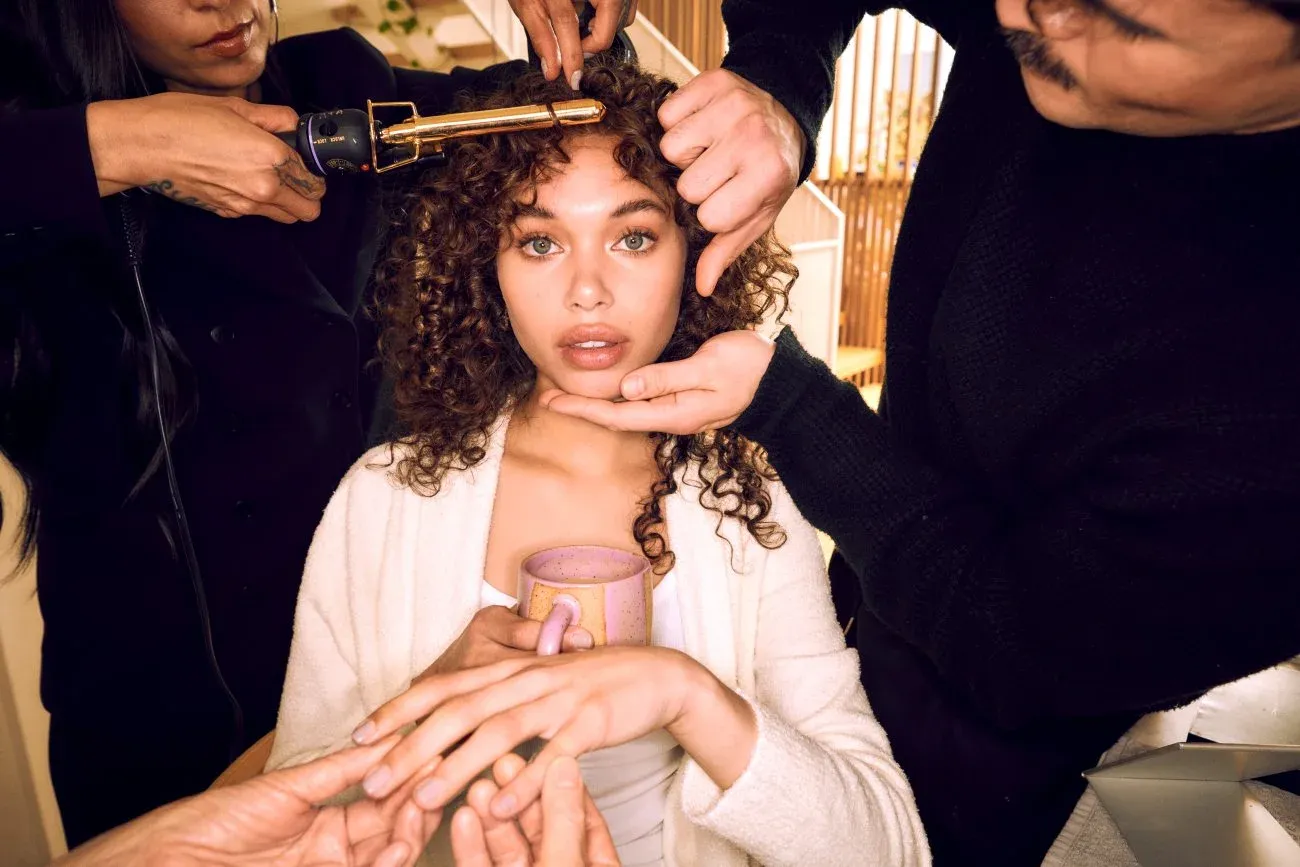
- Sectioning: The hair is then divided into manageable sections using clips. Typically, stylists section the hair into quadrants or more – for example, sides, crown, and back – and often further subdivide these as they work. This “divide and conquer” approach ensures that each portion of hair gets equal attention and that no damp patches are left behind. Working in small sections is key to achieving a thorough, lasting blowout.
- Blow-Dry Technique: Now the real styling happens. Using a round brush in one hand and a blow-dryer in the other, the stylist will work section by section. They place the round brush at the roots of a section, pull it through the hair length, and follow along with the dryer’s nozzle pointing down the hair shaft. This downward airflow and tension from the brush are what smooth the cuticle (outer layer of hair) and create that silky look. They will often “roll” the brush at the ends or lift at the roots as they dry to encourage curl or volume as needed. It’s a skilled maneuver – part drying, part straightening, part curling all at once. (If you’ve tried doing this yourself, you know it takes coordination and can give your arms a workout!)
- Cooling and Setting: After a section is fully dried, stylists sometimes roll the hair into a curl and pin it, or let it cool briefly on the brush. This helps “set” the shape for extra lift or curl. Once the whole head is done, they may give a final blast of cool air, which further sets the style and adds shine.
- Finishing Touches: Finally, any styling refinements are made. This could include smoothing any flyaways with a light serum, adding a bit of teasing at the crown for more lift, or spritzing a light-hold hairspray to help the style last. Some blowouts include a blast of texture spray at the roots for volume, or a shine spray on the lengths. The stylist might also loosely curl a few face-framing pieces with a round brush as a finishing touch, even without a curling iron. The result is a cohesive, salon-quality blowout that looks effortless but is quite methodical to execute.
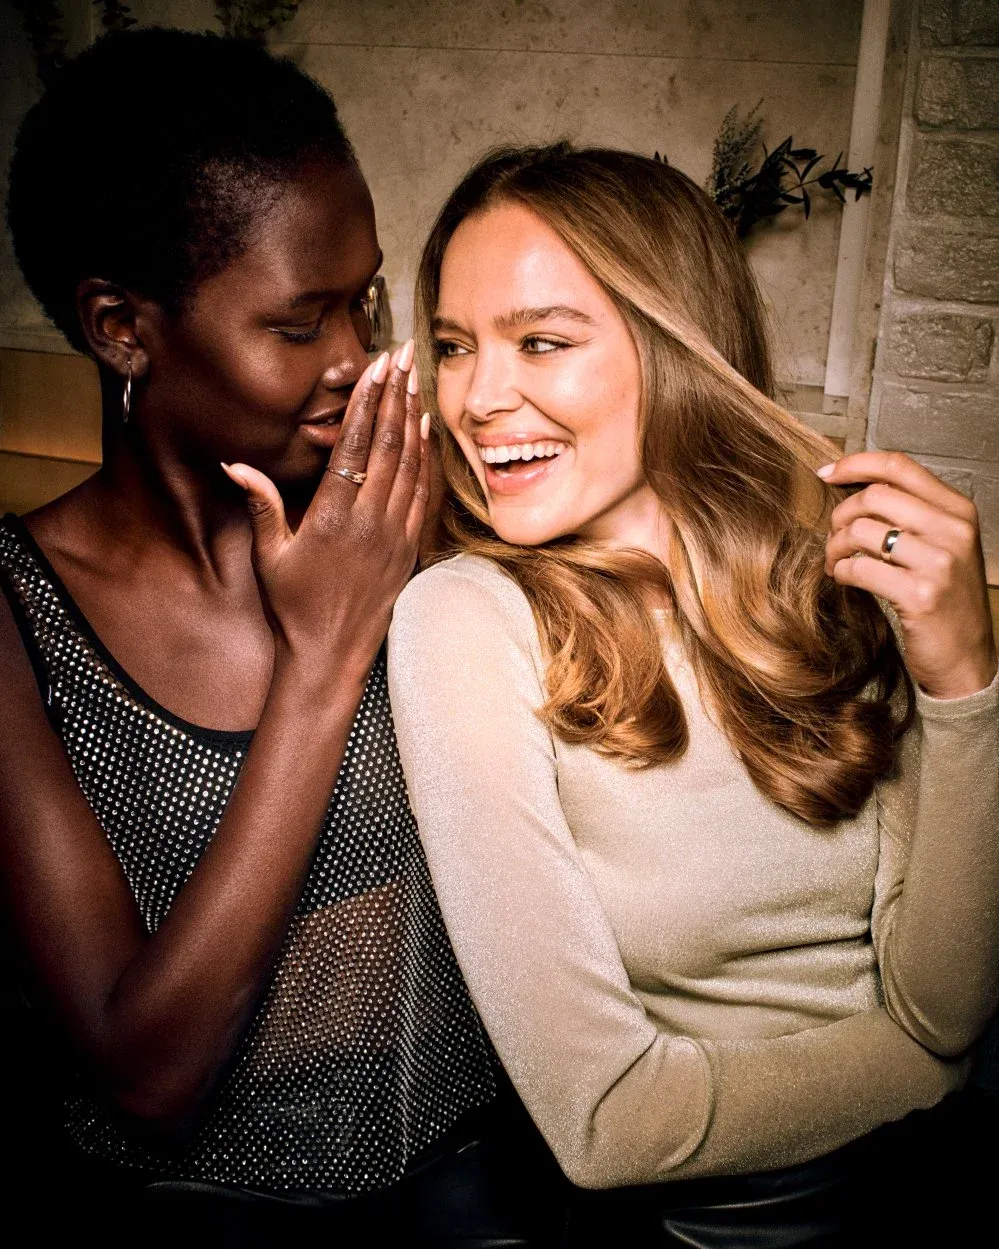
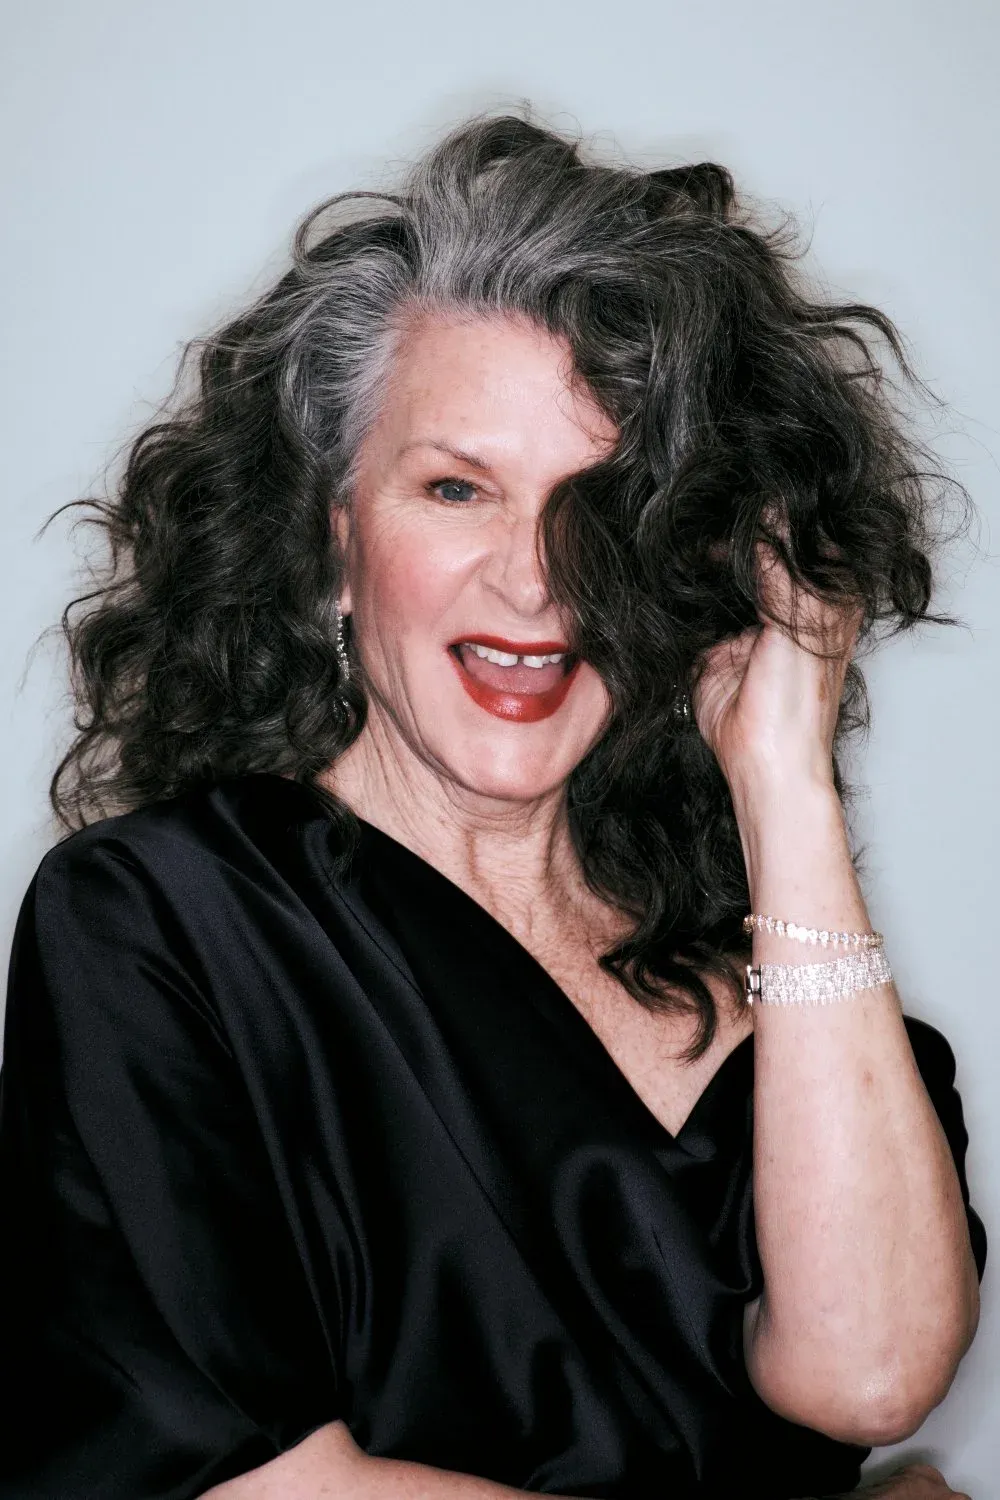
Blowouts are often described as leaving your hair looking like “your best self” – smooth but not flat, full of body but not frizzy, and with a healthy-looking gloss.
Ready to book your next appointment?
Book NowEssential Tools and Products for Styling Hair Blowout
Each step of the blowout process benefits from specific items designed to smooth, protect, and style hair efficiently. Understanding what these essentials are can make the difference between a lackluster result and a truly polished finish.
The foundation of any blowout begins with a quality shampoo and conditioner tailored to your hair’s needs. Once hair is freshly washed, a microfiber towel or soft cotton T-shirt is ideal for gently blotting out excess moisture without roughing up the cuticle, which helps prevent frizz right from the start. Sectioning clips are simple but indispensable tools for an effective blowout. By dividing hair into manageable sections, you ensure that each strand gets adequate attention and heat, which leads to a more uniform and longer-lasting style. Look for clips that hold hair securely without snagging or leaving dents.
The blow dryer itself is the centerpiece of the blowout. A high-powered dryer with adjustable heat and speed settings is best, as it allows you to tailor the airflow to your hair type and desired outcome. Ionic dryers are popular for their ability to reduce frizz and enhance shine. A concentrator nozzle helps direct airflow precisely where it’s needed, smoothing the hair as you work.
Brush selection is equally crucial. Round brushes are the classic blowout tool, with size and material making a big impact on the final result. Larger round brushes create straighter, smoother styles with a soft bend, while smaller brushes add more curl or volume—especially useful for shorter hair or creating flipped ends. Boar bristle brushes are excellent for smoothing and enhancing shine, while ceramic or mixed-bristle brushes can help tame thicker hair by retaining heat.
Benefits of a Blowout: Volume, Frizz Control, and More
The immediate beauty benefits are hard to beat. A well-done blowout can elevate your hair’s look in ways that at-home air-drying or casual ironing often can’t match. Here are some top benefits and reasons people become blowout devotees:
- Tames Frizz for a Polished Look: If you battle frizzy hair, a blowout can feel like a miracle. The combination of tension from the brush and heat from the dryer smooths down the hair cuticle, which significantly reduces frizz and puffiness. Your hair emerges from a blowout session looking sleek and frizz-free, even in usually problematic areas like near the crown or ends. Many salons even advertise specialty frizz-control blowout services that use extra-smoothing products for those with very unruly hair.
- Boosts Volume and Fullness: The other hallmark of a great blowout is the volume. By lifting your hair at the roots and using a round brush to add shape, a blowout prevents the limp or flat look that sometimes occurs with straightening. Even those with fine or thin hair notice a big difference.
- Long-Lasting Style (Time Saver): Unlike many hairstyles that fall flat by the end of the day, a blowout is built to last several days. You can typically enjoy 2-5 days (depending on your hair type and how well you maintain it) of great hair after a blowout. This long-lasting nature is a huge plus; it means you don’t have to redo your hair from scratch every morning. Just some minor touch-ups and you’re good to go.
- Confidence and Convenience: There’s something about a salon blowout that makes many people feel instantly more polished and self-assured. It’s like putting on a great outfit, but for your hair. Whether it’s for a job interview, a big date, or just a pick-me-up, a blowout often provides that little boost of “I look good!” confidence. And of course, if you have a special occasion or photoshoot, a professional blowout ensures your hair will behave and look fabulous for hours on end.
- Customizable Styles: Within the realm of blowouts, you can request different finishes – it’s not one-size-fits-all. You could ask for pin-straight sleekness, loose curls and waves, lots of volume, or even styled ends (flipped out or tucked under). The stylist can tailor the outcome to your preference, all using the blow-dry technique. For example, if you want a hair blowout for volume and loose waves, they might use a smaller round brush and some curling at the ends; for a straight and smooth style, they’ll use a large round brush and plenty of tension for straightness.
You get the benefit of a style that’s shiny, bouncy, and largely frizz-controlled without having to wield a flat iron or curling wand yourself. And since it lasts a few days, many find it saves time on daily styling.
Ready to book your next appointment?
Book NowProfessional Blowouts vs. At-Home Blowouts
Should you book a professional hair blowout at a salon or attempt a DIY blowout at home? The answer can be both – depending on your budget, time, and what results you’re after. Visiting a salon or a dedicated blowout bar means entrusting your hair to the hands of trained hairstylists. The obvious advantage is expertise; a professional stylist performs blowouts regularly and has perfected the technique. If you want guaranteed results for an important event or you have very difficult hair, a professional blowout may be worth it for the smooth, long-lasting finish. Salons also have high-powered dryers and quality brushes/products that can enhance the outcome. Additionally, it’s a pampering experience: you get to relax, perhaps enjoy a complimentary coffee, and walk out with fabulous hair, all with minimal effort on your part. Many salons offer a blowout service package or membership deals if you’re a frequent client.
Another convenient option that’s grown popular is mobile or at-home professional blowout services. With a quick tap on an app, you can book volume hair blowout appointments where a stylist comes to your home. You can arrange a step-by-step blowout where a stylist arrives with tools and products, and you get a salon-quality blowout in your living room. This can be amazing for busy schedules or group events. It costs about the same as a salon visit, but you save travel time.
Learning to do a perfect at-home blowout on yourself is a fantastic skill that can save money and turn you into your own stylist. It also gives you flexibility; you’re not tied to salon hours and can do your hair late at night or early morning for an event. However, achieving salon-like results on your own can be tricky at first. Don’t be discouraged if your first few tries don’t look as smooth – remember that, as noted earlier, there’s a substantial learning curve to mastering blowouts due to the coordination and technique required. Your arms might get tired, you might struggle to handle the brush and dryer simultaneously, or you could end up with still-frizzy sections until you refine your method.
Blowouts for Different Hair Types
Every hair type has its unique characteristics, and blowouts are not a one-size-fits-all solution. The basic method remains the same, but you may need to adjust your approach or product choices based on your hair’s texture and thickness. Here are some tips for customizing a blowout to suit your hair type, with a focus on those with thick hair, as a common question is how to achieve the best blowout service for thick hair that truly lasts.
- Thick or Coarse Hair: If you have a lot of hair, you’ll want to allow extra time for your blowout. Divide into more sections than you think you need; even clipping hair into eight or more sections is fine. This ensures you dry each piece thoroughly. Also, use high heat and strong airflow if your dryer allows adjustments – thick hair can typically handle a bit more heat without damage, whereas fine hair is more delicate.
- Curly or Natural Hair: Doing a blowout on naturally curly or very textured hair means you’re doing a straightening session. It can be intensive, but the blowout method is generally gentler than using a straightening iron because you can stop as soon as the hair is dry and stretched, whereas flat ironing adds direct high heat. The main tips for curly girls: always pre-detangle in the shower with conditioner, use a heat protectant that also has moisturizing properties, and consider using a comb attachment on your dryer or a blow-dry brush tool initially to stretch out the curls before going in with the round brush. Sectioning is extremely important here. You may need to go over sections a couple of times with the brush and dryer to really get them sleek. Some stylists use a technique called tension blow-drying for very tight curls, holding each section taut and aiming the dryer along it to straighten the curls.
- Fine or Thin Hair: Individuals with fine or thin hair often love blowouts for the volume boost they provide. If you have fine hair, you’ll want to use lighter products and consider skipping heavy conditioners, opting instead for volumizing sprays. When blow-drying, use medium heat and a gentle touch; fine hair can singe or break more easily, so it doesn’t need the hottest setting to get the job done. A smaller round brush can help create more movement and curl for fine hair, which tends not to hold style as easily.
- Oily or Straight Hair: Some people with very straight hair say a blowout doesn’t “last” for them because their hair reverts or gets oily quickly. If that’s you, focus on adding texture to your blowout – use a volumizing mousse at the start, and consider skipping the super-heavy conditioner. When blow-drying, you may want to rough-dry more to encourage some natural volume. And use dry shampoo on days 2 and 3 to absorb oils and add some texture. Also, avoid touching your hair too much, as that transfers oils from your hands.
Regardless of your hair type, ensure that you thoroughly dry each section during the blowout. Any residual dampness can cause frizz later or cause your blowout to fall apart more quickly. It’s better to over-dry than leave moisture.
Does a Blowout Damage Hair?
The hazards to hair during a blowout are mainly heat and mechanical stress. Heat can weaken hair bonds and dry out the cuticle; mechanical stress is caused by tugging with the brush. However, when done right, these risks are mitigated. When these precautions are taken, blow-drying your hair correctly is unlikely to cause severe damage. A well-controlled blowout can actually be less damaging than randomly air-drying followed by aggressive flat-ironing.
It’s also worth noting that the technique causes damage. Yanking a round brush harshly or getting it tangled and ripping through will cause breakage, no surprise. So be gentle and patient when brushing during the blowout. If you encounter a knot, pause and detangle gently with a comb. Using a brush with smooth, rounded bristles will minimize snags.
What about repeated professional blowouts – are they doing something extra? Generally, no chemical is applied in a standard blowout. A typical blowout is just styling, so the only consideration is heat. Some salons use high-end ionic dryers that help lock in moisture and cause less frizz. And professionals work efficiently, so your overall exposure time might be shorter than if you fumble around at home for twice as long trying to dry one section. This efficiency can also mean less damage.
If you have color-treated or very fragile hair, you should be more cautious. Fragile hair might not tolerate weekly high-heat blowouts without getting split ends. In such cases, either space out the blowouts a bit more or use lower heat settings and more product to compensate. A trick for damaged hair is to dry it initially on a cool or low heat setting until it's mostly dry, and then use higher heat in the final phase to polish it off.
A hair blowout is a styling ritual that can leave you feeling fabulous with minimum daily effort. The keys to blowout success are preparation, the right tools, and patience. Take the time to section your hair and dry it methodically. Don’t skip the heat protectant, and don’t start with soaking wet hair. Adjust your approach according to your hair type to achieve better results and longer-lasting effects. If your arms get tired or your first attempt isn’t salon-perfect, know that even seasoned pros took time to master the craft. Each time you try, you’ll get smoother and faster. Incorporating blowouts into your routine can be a game-changer.
Sources:
- Hair.com by L’Oréal – Hair Blowouts: Easy At Home Tutorialhair.com
- Allure – How to Give Yourself a Salon-Worthy Blowout at Homeallure.com
- Living Proof – Blow Drying Hair Myths & Truths (Hair 101 Blog)livingproof.com